As an Amazon Associate, I earn from qualifying purchases.
Adjusting bra straps may seem like a simple task, but it’s an essential part of ensuring a comfortable and supportive fit. A well-fitting bra can significantly affect how you feel and appear; adjusting the straps is vital to achieving that perfect fit. This article will guide you through adjusting bra straps to achieve the ideal fit.
How to Adjust Bra Straps Correctly
Step 1: Check the Fit
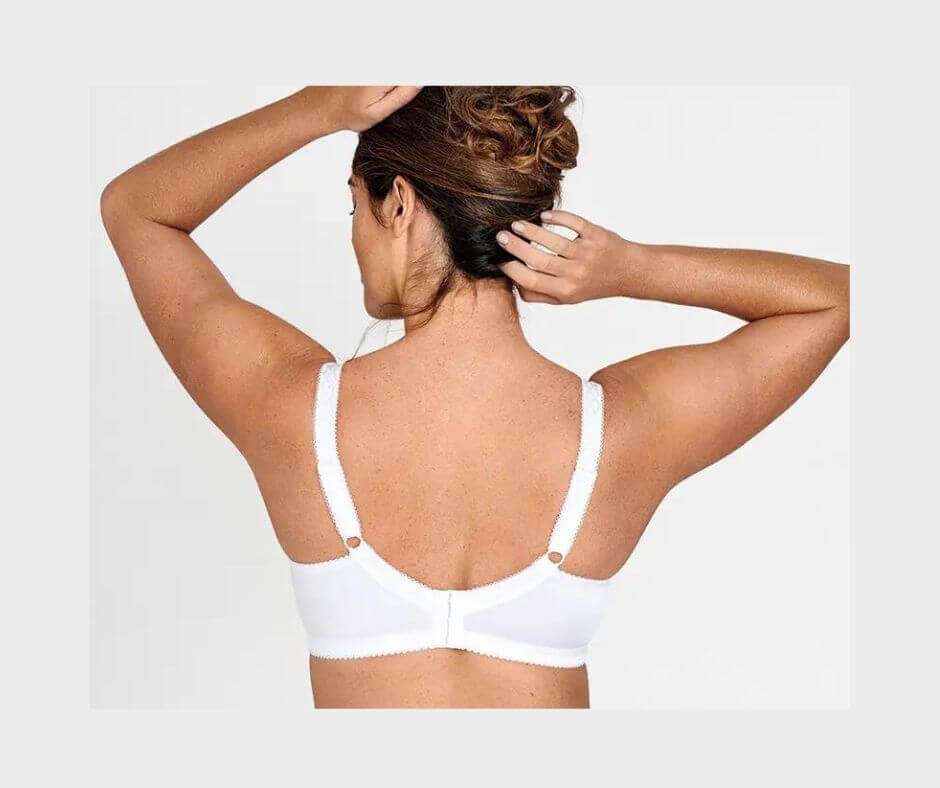
Before adjusting the straps, it’s essential to ensure the bra fits correctly. A poorly fitting bra can cause discomfort, chafing, and even pain. Here’s how to check the fit:
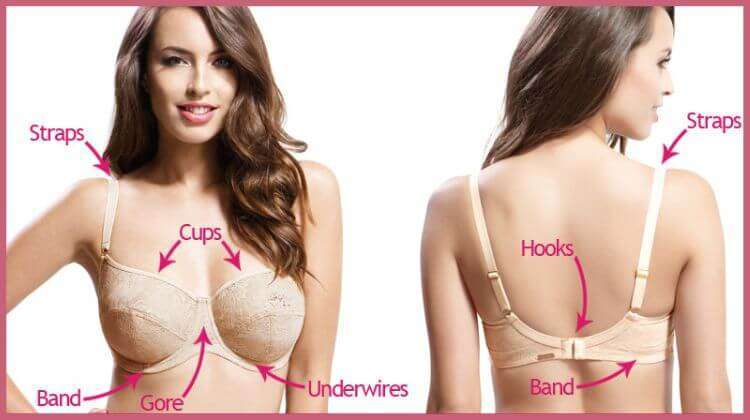
1.1. Check the Band
The band is the most crucial part of the bra, as it provides the majority of the support. The band should be snug enough to wrap around your ribcage without digging in or riding up. Slide two fingers under the band at the back to check the fit. If you can’t do this comfortably, the band is too tight. The band is too loose if you can fit up to two fingers.
1.2. Check the Cups

The cups should encase your breasts without any gaps or spillage. You need to adjust the cup size for any spillage or gaps. You must go down a cup size if your cups are wrinkled or baggy. Once you’ve ensured the correct fit, you can adjust the straps.
Step 2: Adjusting the Straps
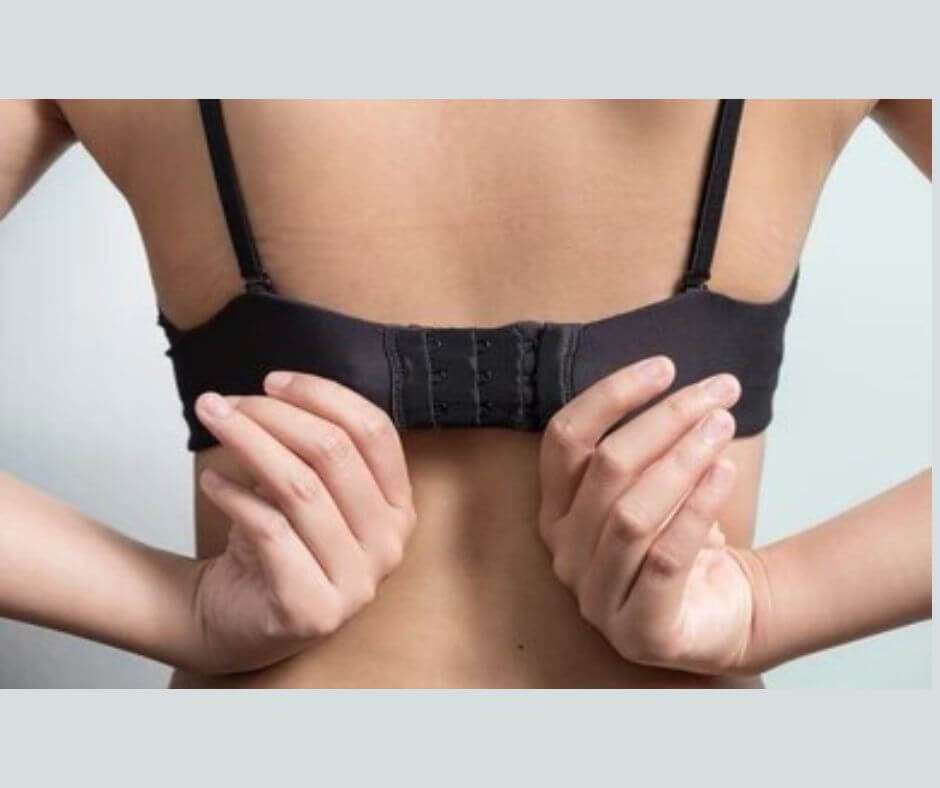
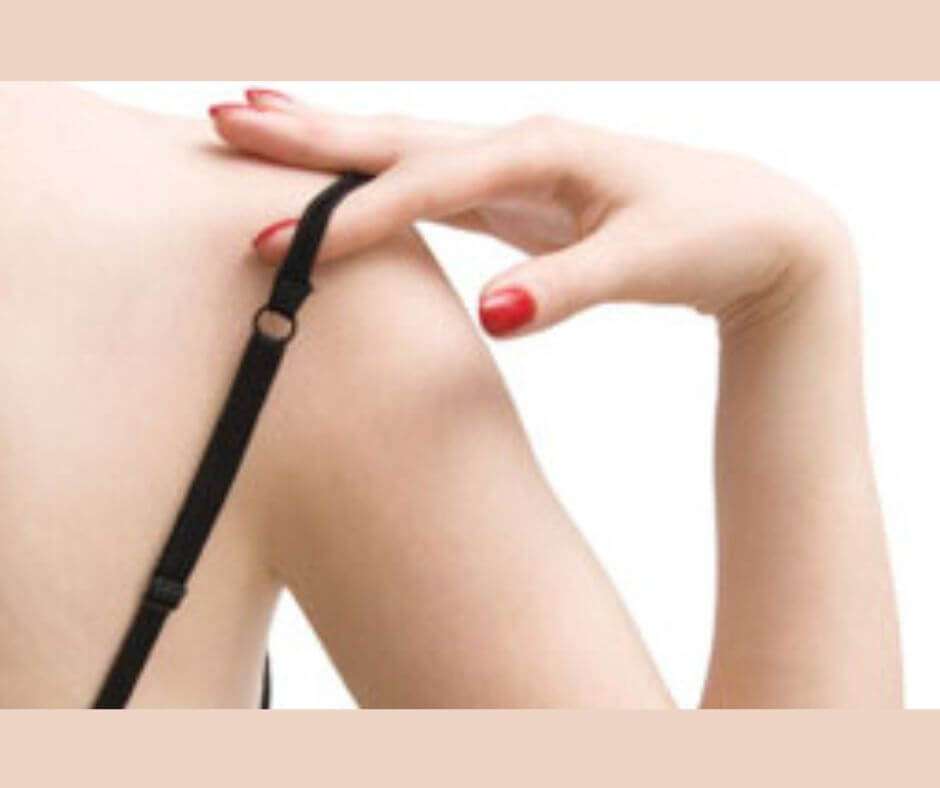
2.1. Loosen the Straps
How do I loosen bra straps? Before adjusting the straps, loosen them completely by pulling them down. This lets you adjust them to the proper length.
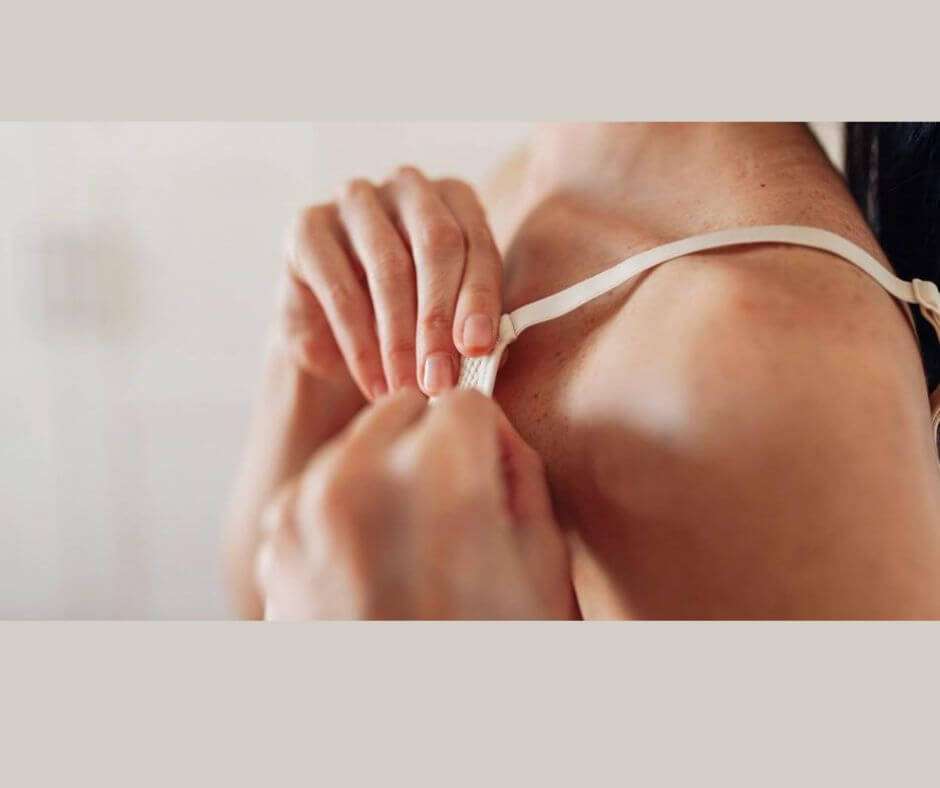
2.2. Adjust the Straps
Adjust the straps one at a time, starting with the left strap. Hold the slider firmly and slide it up or down until the strap length feels comfortable. The strap should sit snugly on your shoulder without digging in or slipping off.
Repeat the process with the right strap.
2.3. Check the Length
After adjusting the bra straps:
- Check the length to ensure they are even.
- Look in the mirror and examine your reflection.
- If one strap is shorter, adjust it until they’re even.
2.4. Test the Fit

After adjusting the straps, it’s essential to test the fit again. Wear a shirt or dress and move around to ensure the bra stays in place and feels comfortable.
Step 3: Other Adjustments
3.1. Tightening the Straps
How do I keep bra straps from loosening? If the bra strap adjuster keeps slipping, try tightening it slightly. Remember not to make them too tight, as this can cause discomfort and dig into your skin. This is the best-slipping bra strap solution.
3.2. Loosening the Straps
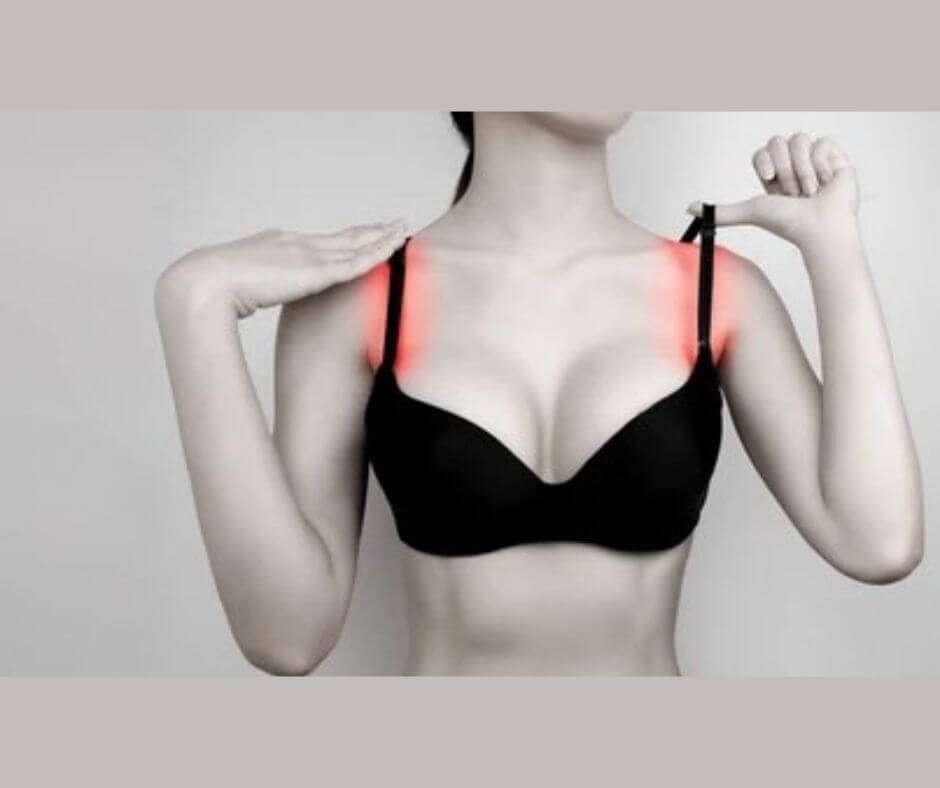
If your straps dig into your shoulders, try loosening them slightly. This will reduce the pressure on your shoulders and make the bra more comfortable.
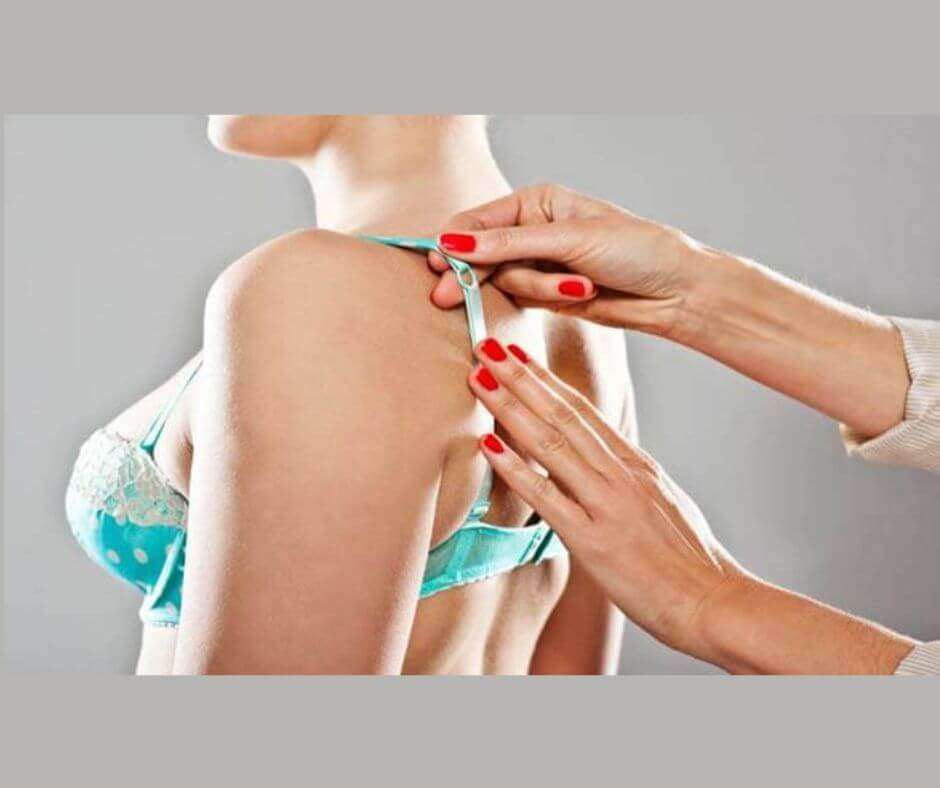
3.3. Adjusting the J-Hook
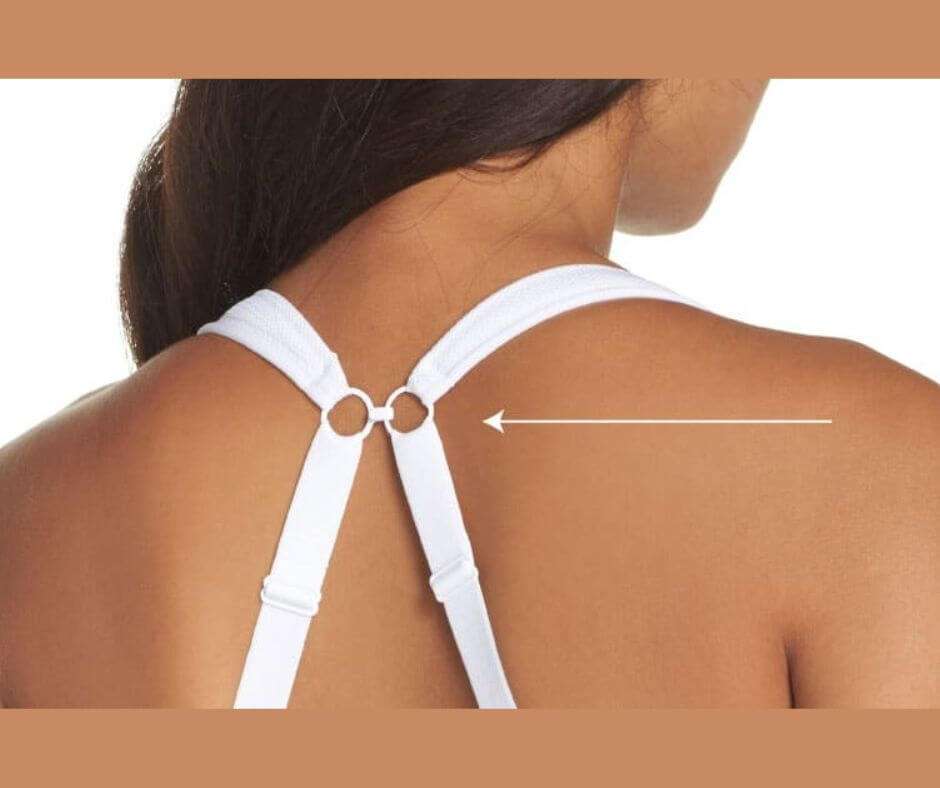
Some bras come with a J-hook at the back, which allows you to convert a regular bra into a racerback style. To adjust the J-hook, fasten the hook onto the appropriate loop on the opposite side of the bra.
Step 4: When to Adjust the Straps
Adjusting your bra straps regularly is essential to ensure a comfortable and supportive fit. You may need to adjust the straps after washing your bra, as the straps can become stretched or lose their elasticity.
You should adjust your bra straps whenever you change your outfit. This will help you achieve the best fit and ensure you’re comfortable throughout the day.